
I have a lot of confidential material to destroy daily and my workplace doesn’t have a stellar method for disposing of all this paper. There are garbage bags full of shredded paper that get sent to landfill each week.
It hurts my heart.
My honey mentioned paper logs to me a while back and I suppose I was dismissive. We don’t burn a lot through the winter and it seemed like a lot of work. Importantly, he also got me hooked on art earlier in the year. That is where it all comes together.
So after watching this handy video on YouTube posted by a clever gent named Steve from Tiny House Listings, I decided that I could use the process to maim multiple birds with one stone! I would be able to reduce my contribution to the waste stream, make some sweet logs for myself and parents to burn through the winter and make some awesome paper to use in my art.
That is a win, win, win!
Stage 1: You gotta DIY a contraption…or two!
Since I didn’t know if this was going to work or be a giant fail, I didn’t want to invest in buckets…so I snagged some from my parents. They typically have a bucket stockpile. For unknown reasons.
Anyway, your bucket source is your business, but the long and short of it is that you need two buckets that fit nicely together.
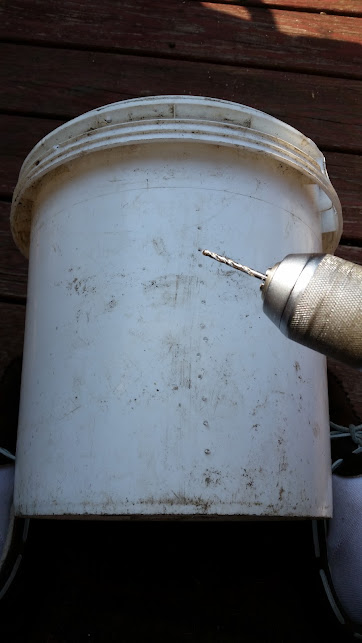
You then need to take your handy dandy drill and get to work making a lot of holes. I used a smaller drill bit as I had seen some other posts that identified larger holes can cause some issue with losing material and wanted to err on the safe side. I started out making holes about every inch, but quickly got bored and just went crazy on it. It was hot. I am impatient.
After you get all of your holes in place, both on the sides of the bucket and on the base, you will place your hole-y bucket inside your un-hole-y bucket.
If you love the idea of DIY and hate the process, here is a paper log press that is easily purchased and has good reviews or the 4-in-1 version if you have a lot of paper.
Stage 2: The Paper Transformation!
You can add either shredded paper or just tear it up into decent chunks. Shredded will be easiest and likely less dangerous.
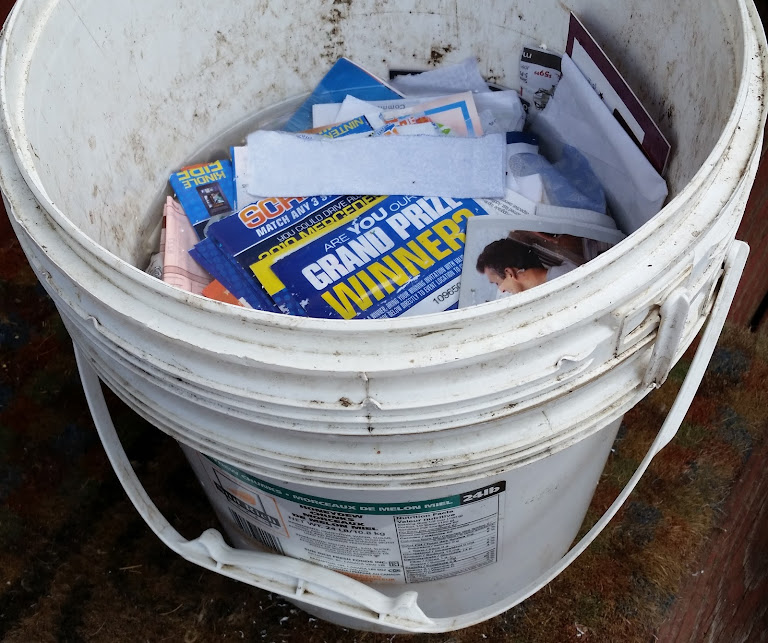
Pour in water to cover and let it sit…for a while. With my impatience, I waited about 2o minutes instead of the recommended 24 hours. The outcome was messy. That might have just been me though.
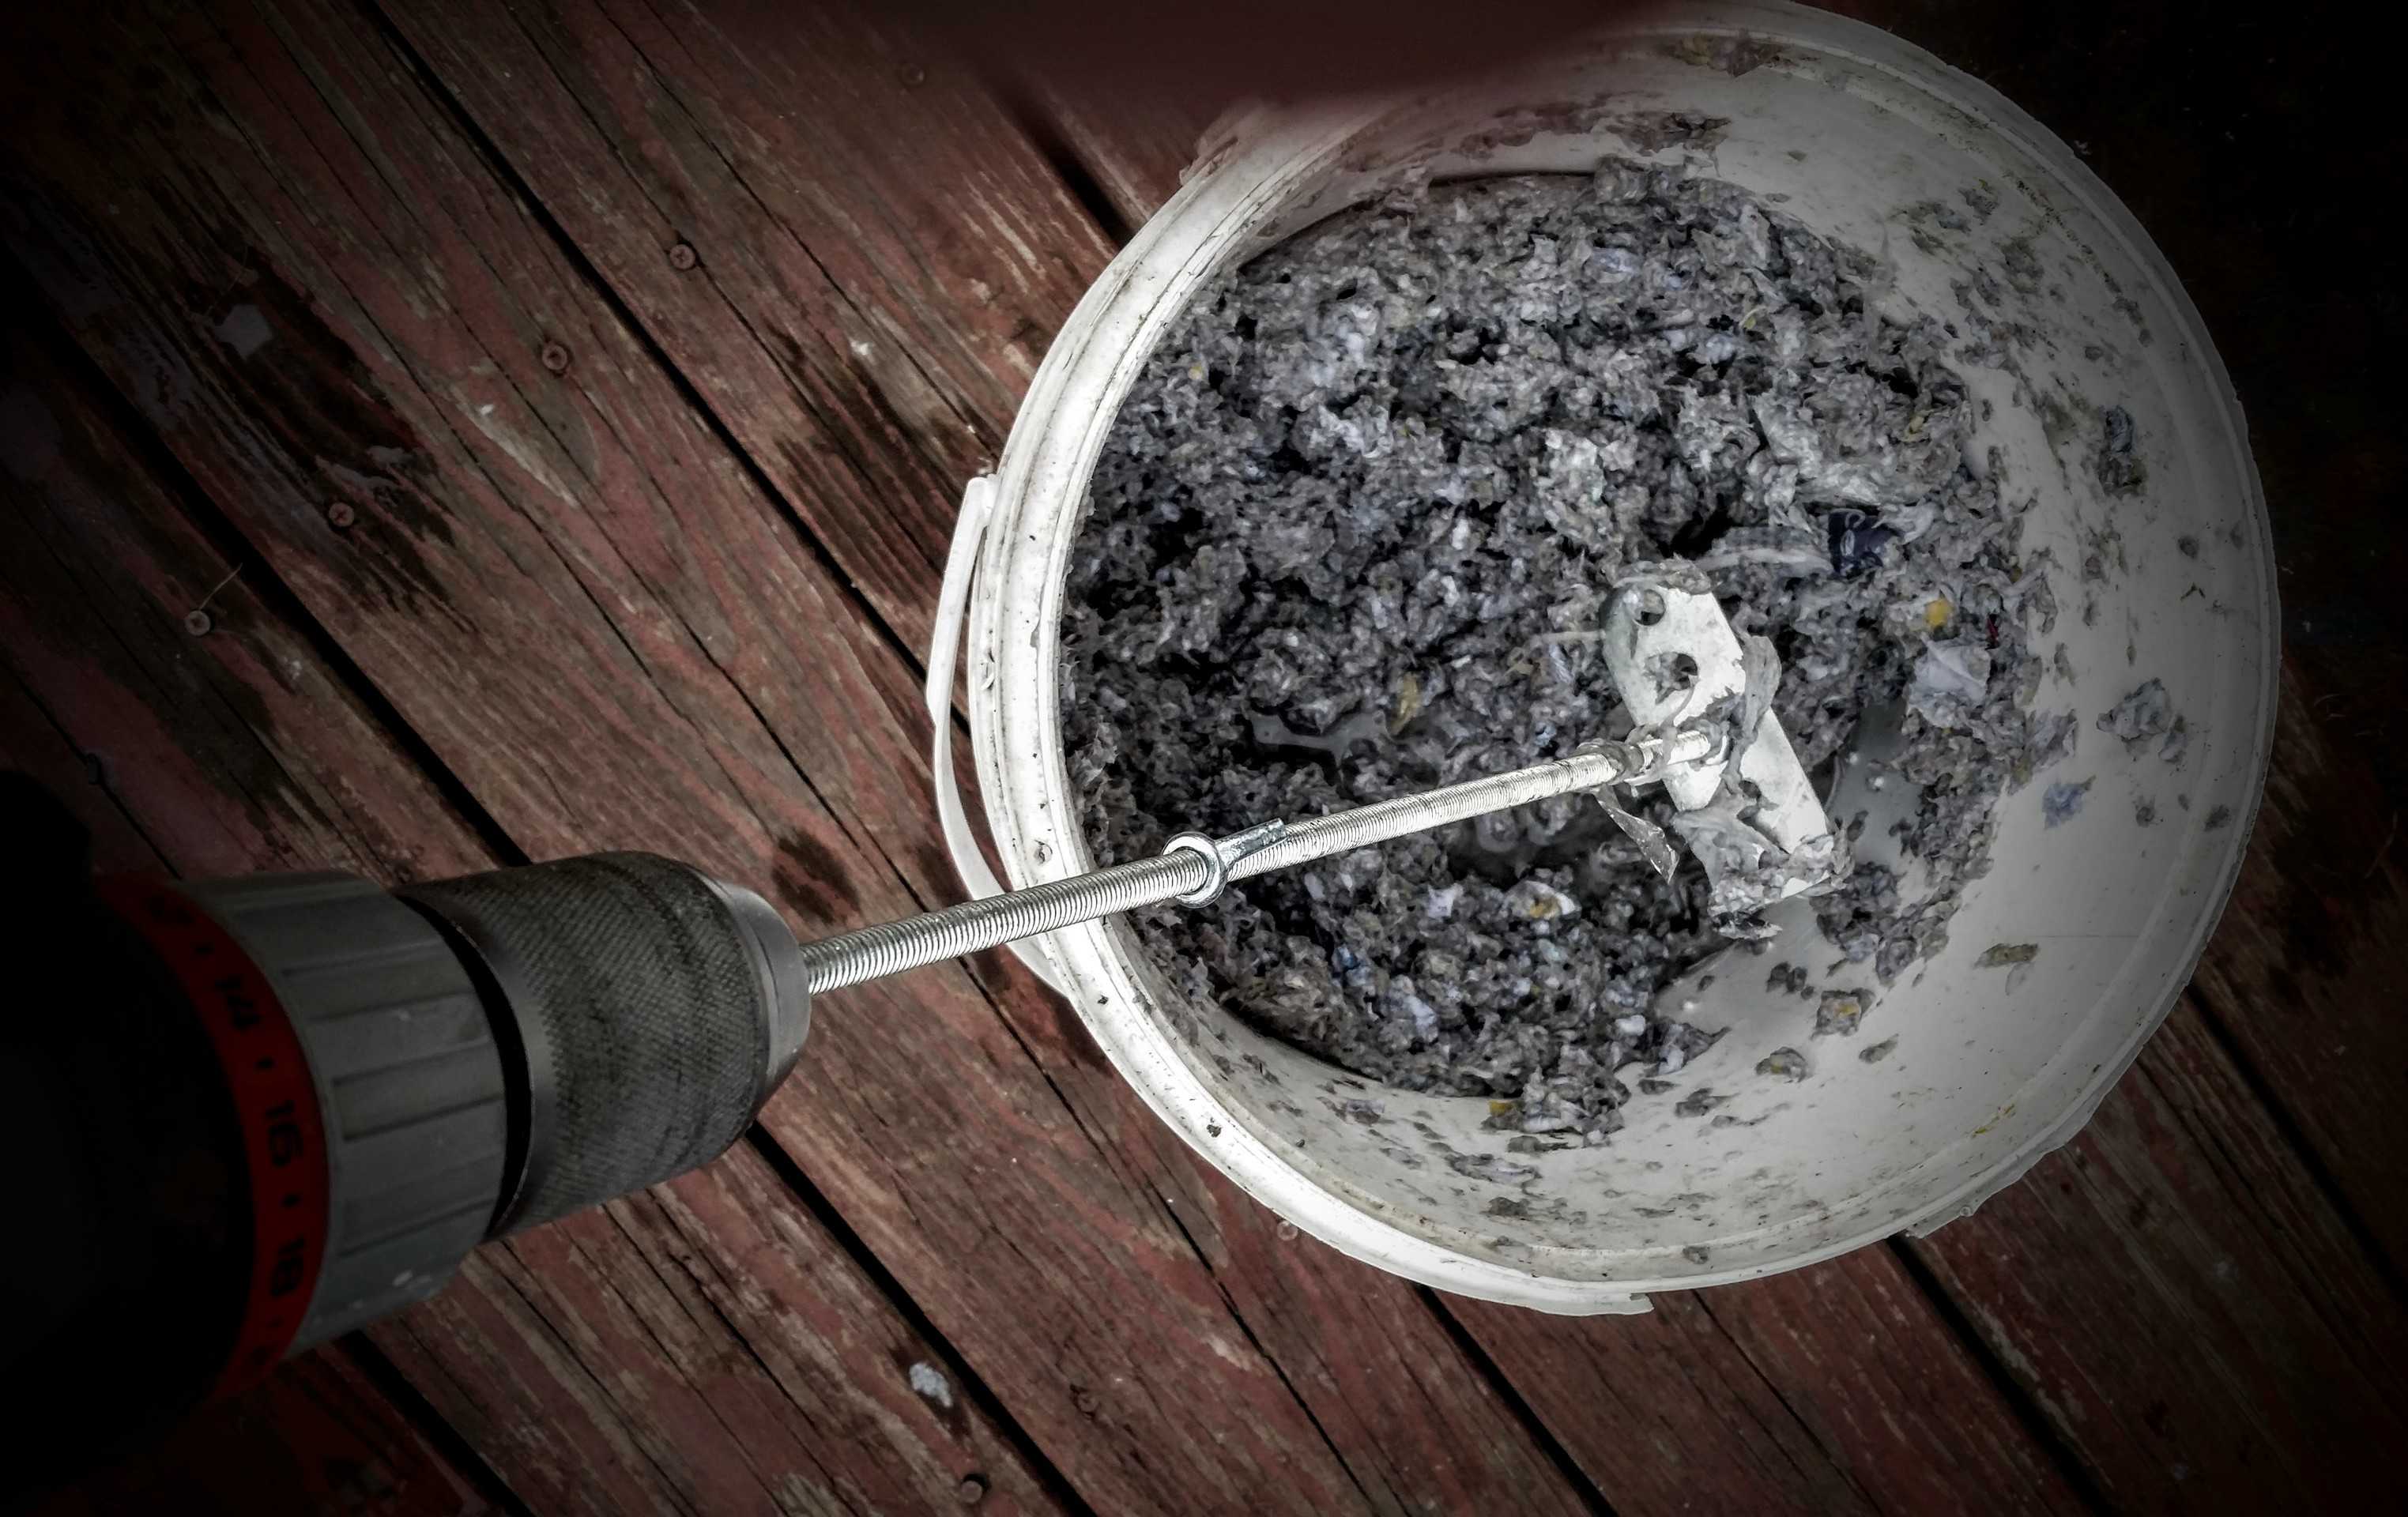
Note the second of the DIY contraptions: this is a modification made to a previous invention of my honey. He shortened the rod and sharpened the metal choppy-bits. If you watch the original YouTube video, you will see a magnificently dangerous modded saw blade. I know myself, this is dangerous enough and the reason I would consider the additional step of shredding the paper, though in the battle of Danger vs. Lazy, Lazy typically wins.
If you are less interested in DIY-ing your own blade of death, here is a mixer that others have noted is a viable option with designed use on the end of a drill.
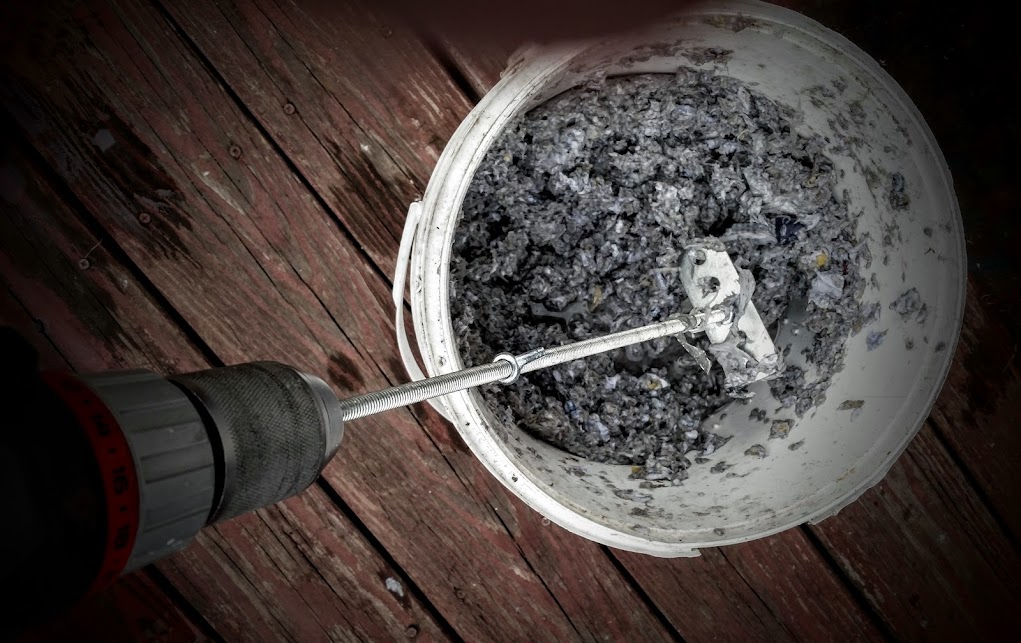
So with my impatience, this is my product!
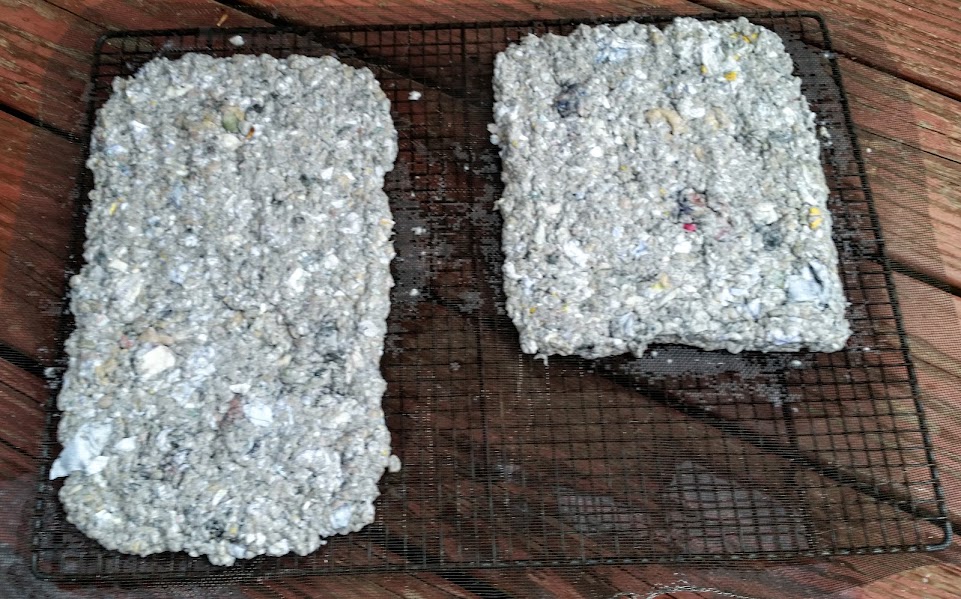
Yeah, that’s some sexy art paper. Might be a little on the thick and chunky side. I’m not judging.
And here is my lump of fire log, also a little less desirable than found in the tutorials.
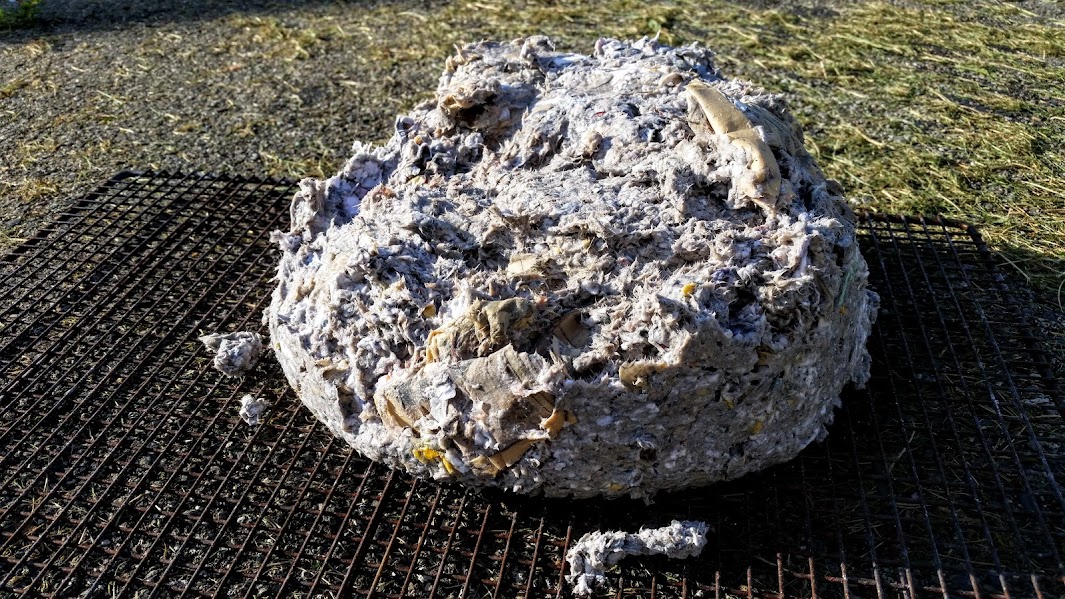
You can clearly see in the large chunks of un-mushed paper that I need to work on my patience.
Let me know your thoughts and be sure to take a peek at the video from Steve in the link above!


[…] I have practiced my own paper making with an old blender for a while now, I figured I’d have a go at the face. I used some […]