The last day of the Mud Art process is really the last days and are repetitive but simple. You can continue your work in just a few minutes each day and be treated to an awesome piece of art at the end of your week!
Paint, Varnish, Repeat
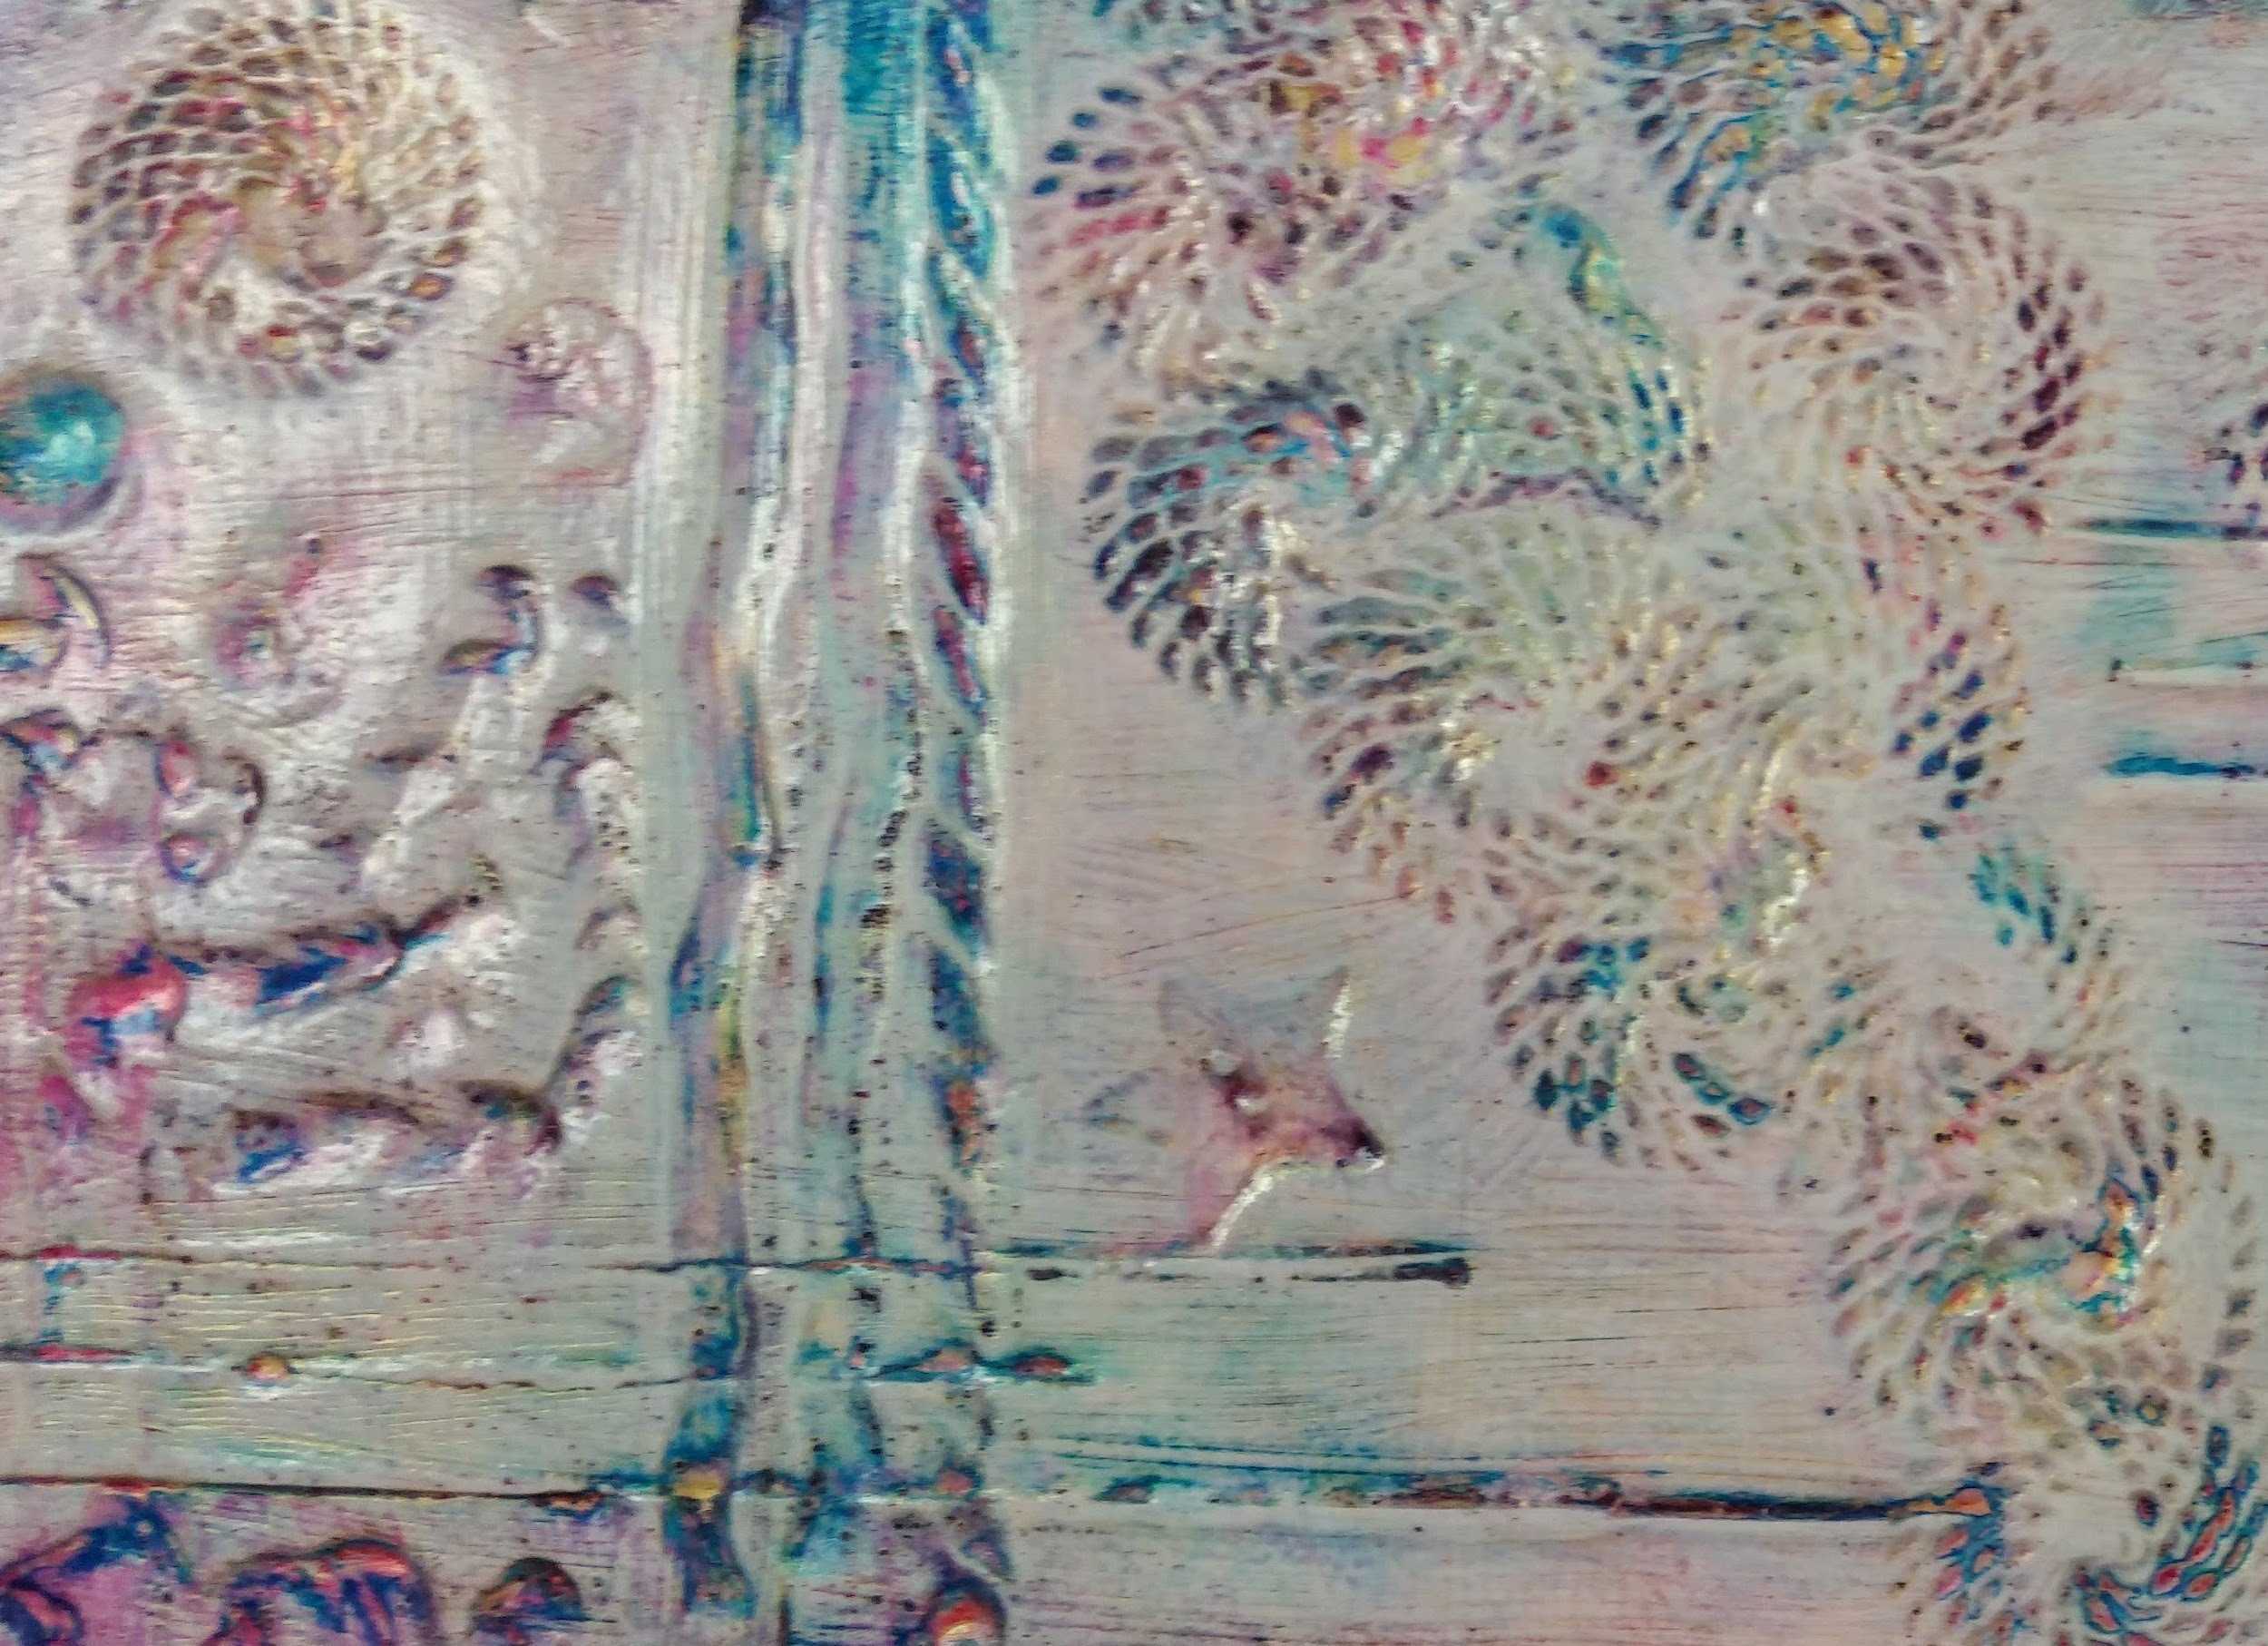
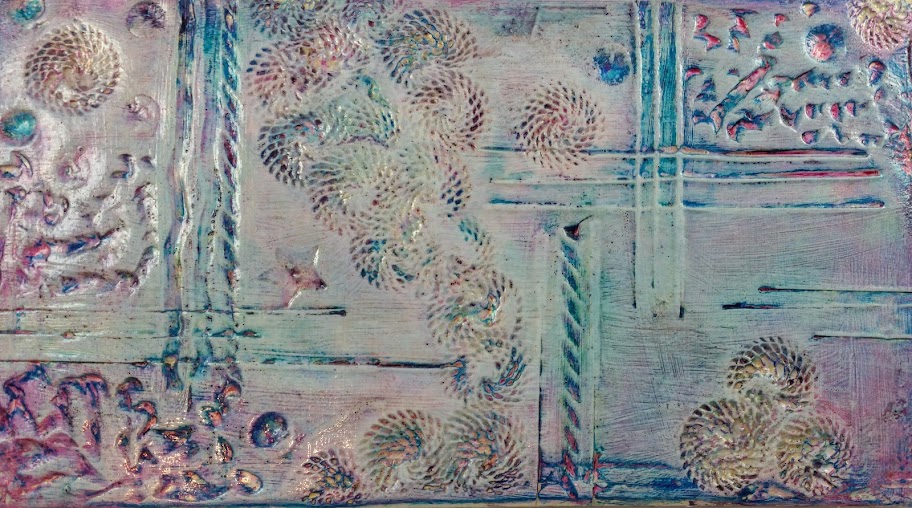
 This process starts with the lightest color you plan on using in your color scheme. Take a pea size dollop of your acrylic paint and place it on your twice varnished piece. Spray or drop a bit of water to loosen up the color and smear it all across the piece. I prefer to use my exam gloves for this part for two reasons, first, it’s super messy and the paint is a trial to get out from under your nails for work the next day and second, depending on the paint, it can have some components that you likely shouldn’t be smearing all over your largest organ.
After you complete your smeary goodness, use paper towels to wipe away the color from the areas that you would like to retain with the lighter color. You may need a little more water within this step to more fully remove some areas.
After your first color dries, go ahead and put a coat of the gloss medium and varnish. You will repeat this process for each color, progressing toward the darker and less translucent colors. Be sure you coat with the varnish in between each color and do a double coat at the end.
That’s about it. I hope that you have enjoyed this series and that you enjoy your own mud art even more, but if you don’t, I will have a remedy for you next week as I have a piece that just isn’t working for me and will be figuring out how to make it pretty this week!