
I remember a time in my late teens when I was as idealistic as I was naive and everything I did moved toward the most simple life possible. There are parts of me that continue to yearn for this misty Appalachian dream, but reality, opportunity and duty lead me to the life I have and love.
So why did I get off on that tangent? Well, during that time, I came to know a family friend who made just about the most amazing pickles in the world. I remember going to her simple home, really a trailer that was well cared for, in the later part of July and throughout the neatly kept home were crocks, basins and tubs of cukes in varying states of pickle. They were everywhere! It was her specialty and part of the way she made ends meet; her product was always in high demand.
She taught me how. I forgot. I want those pickles.
She had called them Icicle Pickles and if you read different books they will say it is because of a spear shape. That makes no sense to me as why wouldn’t dill pickles then be icicle pickles too? No, my sense was always that it was the particular translucency that gave the pickle their’ name. I am open to being wrong here.
After a lot of research, I couldn’t find a recipe I loved, so I took a bunch and tweaked and hoped for the best. I won’t say that what came out is the best, but my mother told me they were perfect. So there’s that.
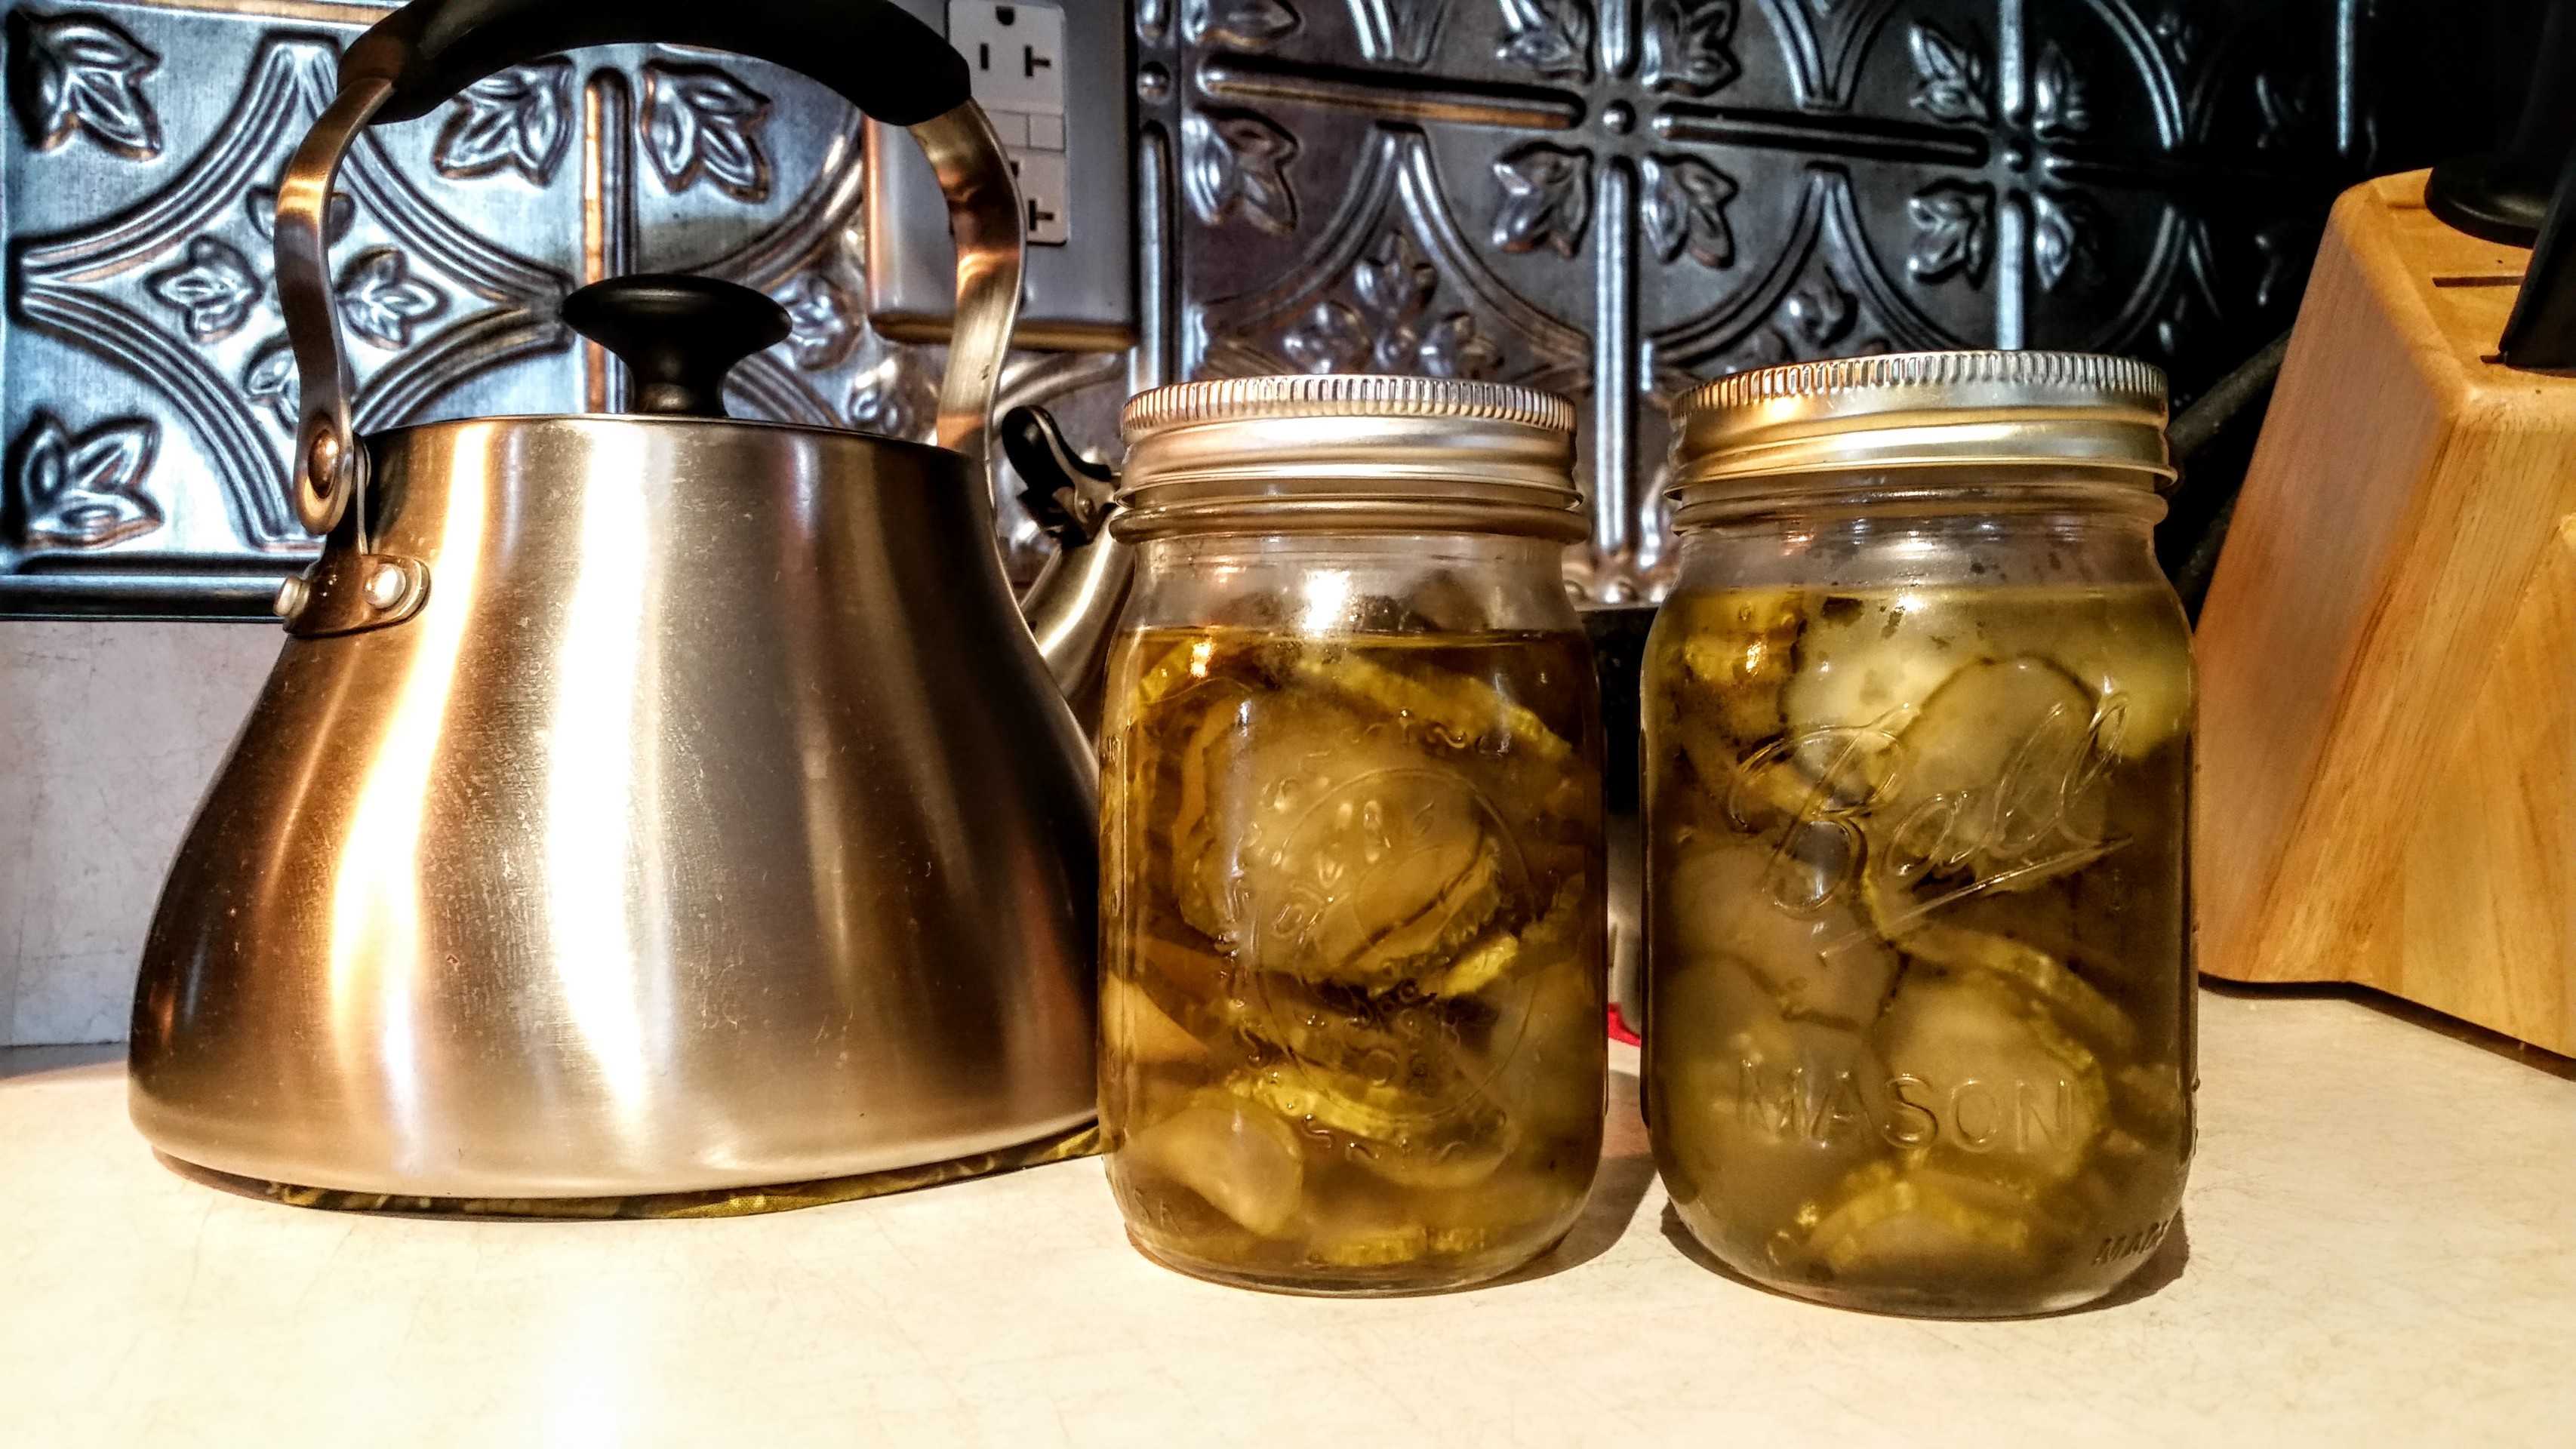
Icicle Pickles (makes about 2 pints)
- 2-3 # pickling cukes – I wouldn’t use anything but a pickling cuke like a Kirby
- 3/4 c pickling or canning salt – I used Kosher as I was lazy and didn’t want to go buy special salt
- 6 c water
- 4 t pickling spice – I used a store-bought mix
- 1 cinnamon stick – about 3″ long
- 4 c granulated sugar
- 4 c white vinegar
First things first: Make sure you have about two weeks where you can take care of your pickles. You don’t do a lot each day, but a neglected pickle is botulism waiting to happen.
Day 1:
- Scrub the cukes and slice into either rounds or spears, your choice. I prefer rounds about a 1/4″ thick, so that’s what I did. Make sure to discard the blossom end unless you want a soft, slippery pickle…yes, I said that. If you don’t know which is the blossom end, discard both ends. The blossom ends have an enzyme that will break down your pickle and produce an inferior product.
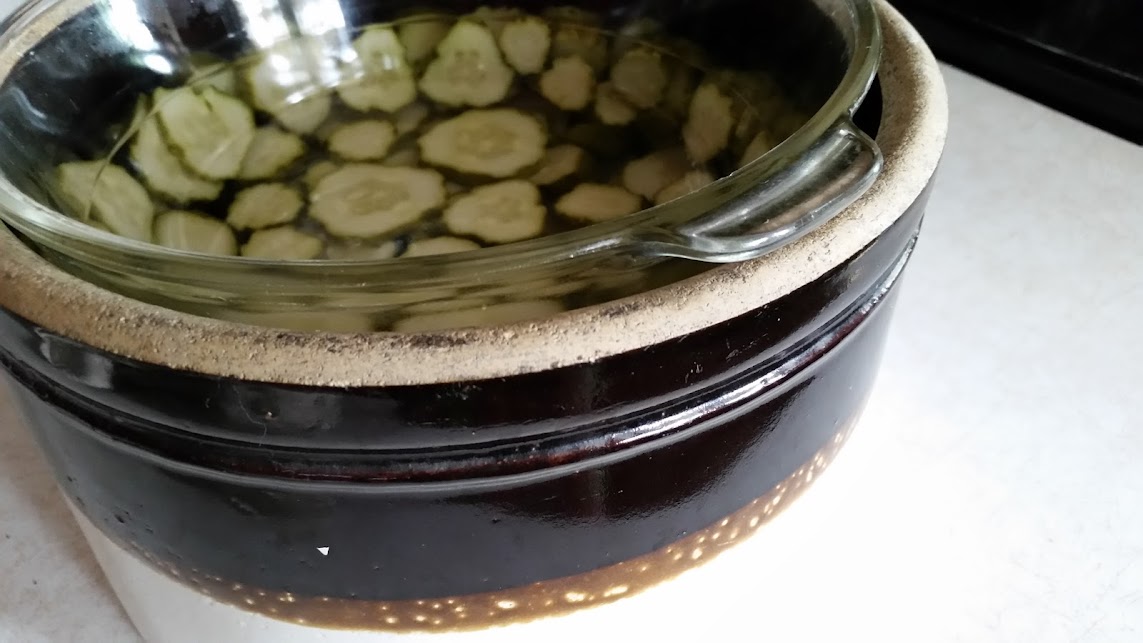
- Place cut cukes into a non-reactive container, I prefer a crock, but you can use a glass or stainless steel container.
- In a large stainless steel saucepan, combine the salt and water to make a brine. Bring to a boil. Ladle over cukes.
- Submerge the cukes in the brine by placing a clean, plate or other non-reactive vessel on top. Depending on what you use, you may need to weigh the plate down with a couple of jars full of water. Cover it all with a heavy towel to keep the pickles in the dark and place in a cool area. 70-75 F is preferable, but I had a spot that was around 68 F and it worked fine. Biggest tip: don’t put it anywhere the sun hits for any period during the day.

Days 2 – 6:
- Check your pickle babies daily. Sometimes there is a ‘scum’ that forms at the top. This is normal. It is natural yeasts/mold working through the process. Don’t worry, just skim it off and the pickles will be awesome. I didn’t have any scum throughout my week, but I think that’s just good luck. I typically count on having to skim. I also wash the plate daily. Just in case.
Day 7:
- De-scum as necessary before draining the pickles and discarding the brine. If you have some weeds growing in a sidewalk, driveway or path where you don’t want anything else to grow, that is a great place to discard.
- Rinse crock and plate thoroughly. Rinse pickles thoroughly. Return to crock.
- Boil about 6 cups of water and ladle over pickles. Cover as before for 24 hours.
Day 8:
- Drain the water from the pickles, it will be salty-ish, so you may want to use as weed-killer again. Rinse pickles, crock and plate and return pickles to crock.
- Make a spice bag using cheesecloth and pickling spice. Ensure the tie around the cheesecloth is secure.
- In a large, stainless steel saucepan, combine the vinegar, sugar, pickling sachet and cinnamon stick. Bring to a boil. Ladle over pickles, cover as before for 24 hours.
Days 9-12:
Careful here! You will be saving the liquid for the next few days, so drain the liquid into your stainless steel saucepan along with the spice sachet and cinnamon stick, reserve the pickles to the side and rinse your crock and plate cover.
Return the pickles to the crock.
Bring the reserved liquid, pickling sachet and cinnamon stick to a boil. Ladle over pickle, cover as before for 24 hours.
Day 13:
Repeat steps from days 9-12, but instead of returning pickles to crock, place them in clean, sterilized jars before ladling the liquid over them. You will want to leave around 3/4 – 1″ headspace at the top of each jar. Can as necessary, but typically the cooling of the boiling liquid will do it for me. Just make sure the lids seal.

I hope you enjoy these as much as I have! Please always remember, when you are pickling or canning anything if you open it and it smells or tastes off or is bubbling, toss it…botulism or other food poisoning is not worth it!
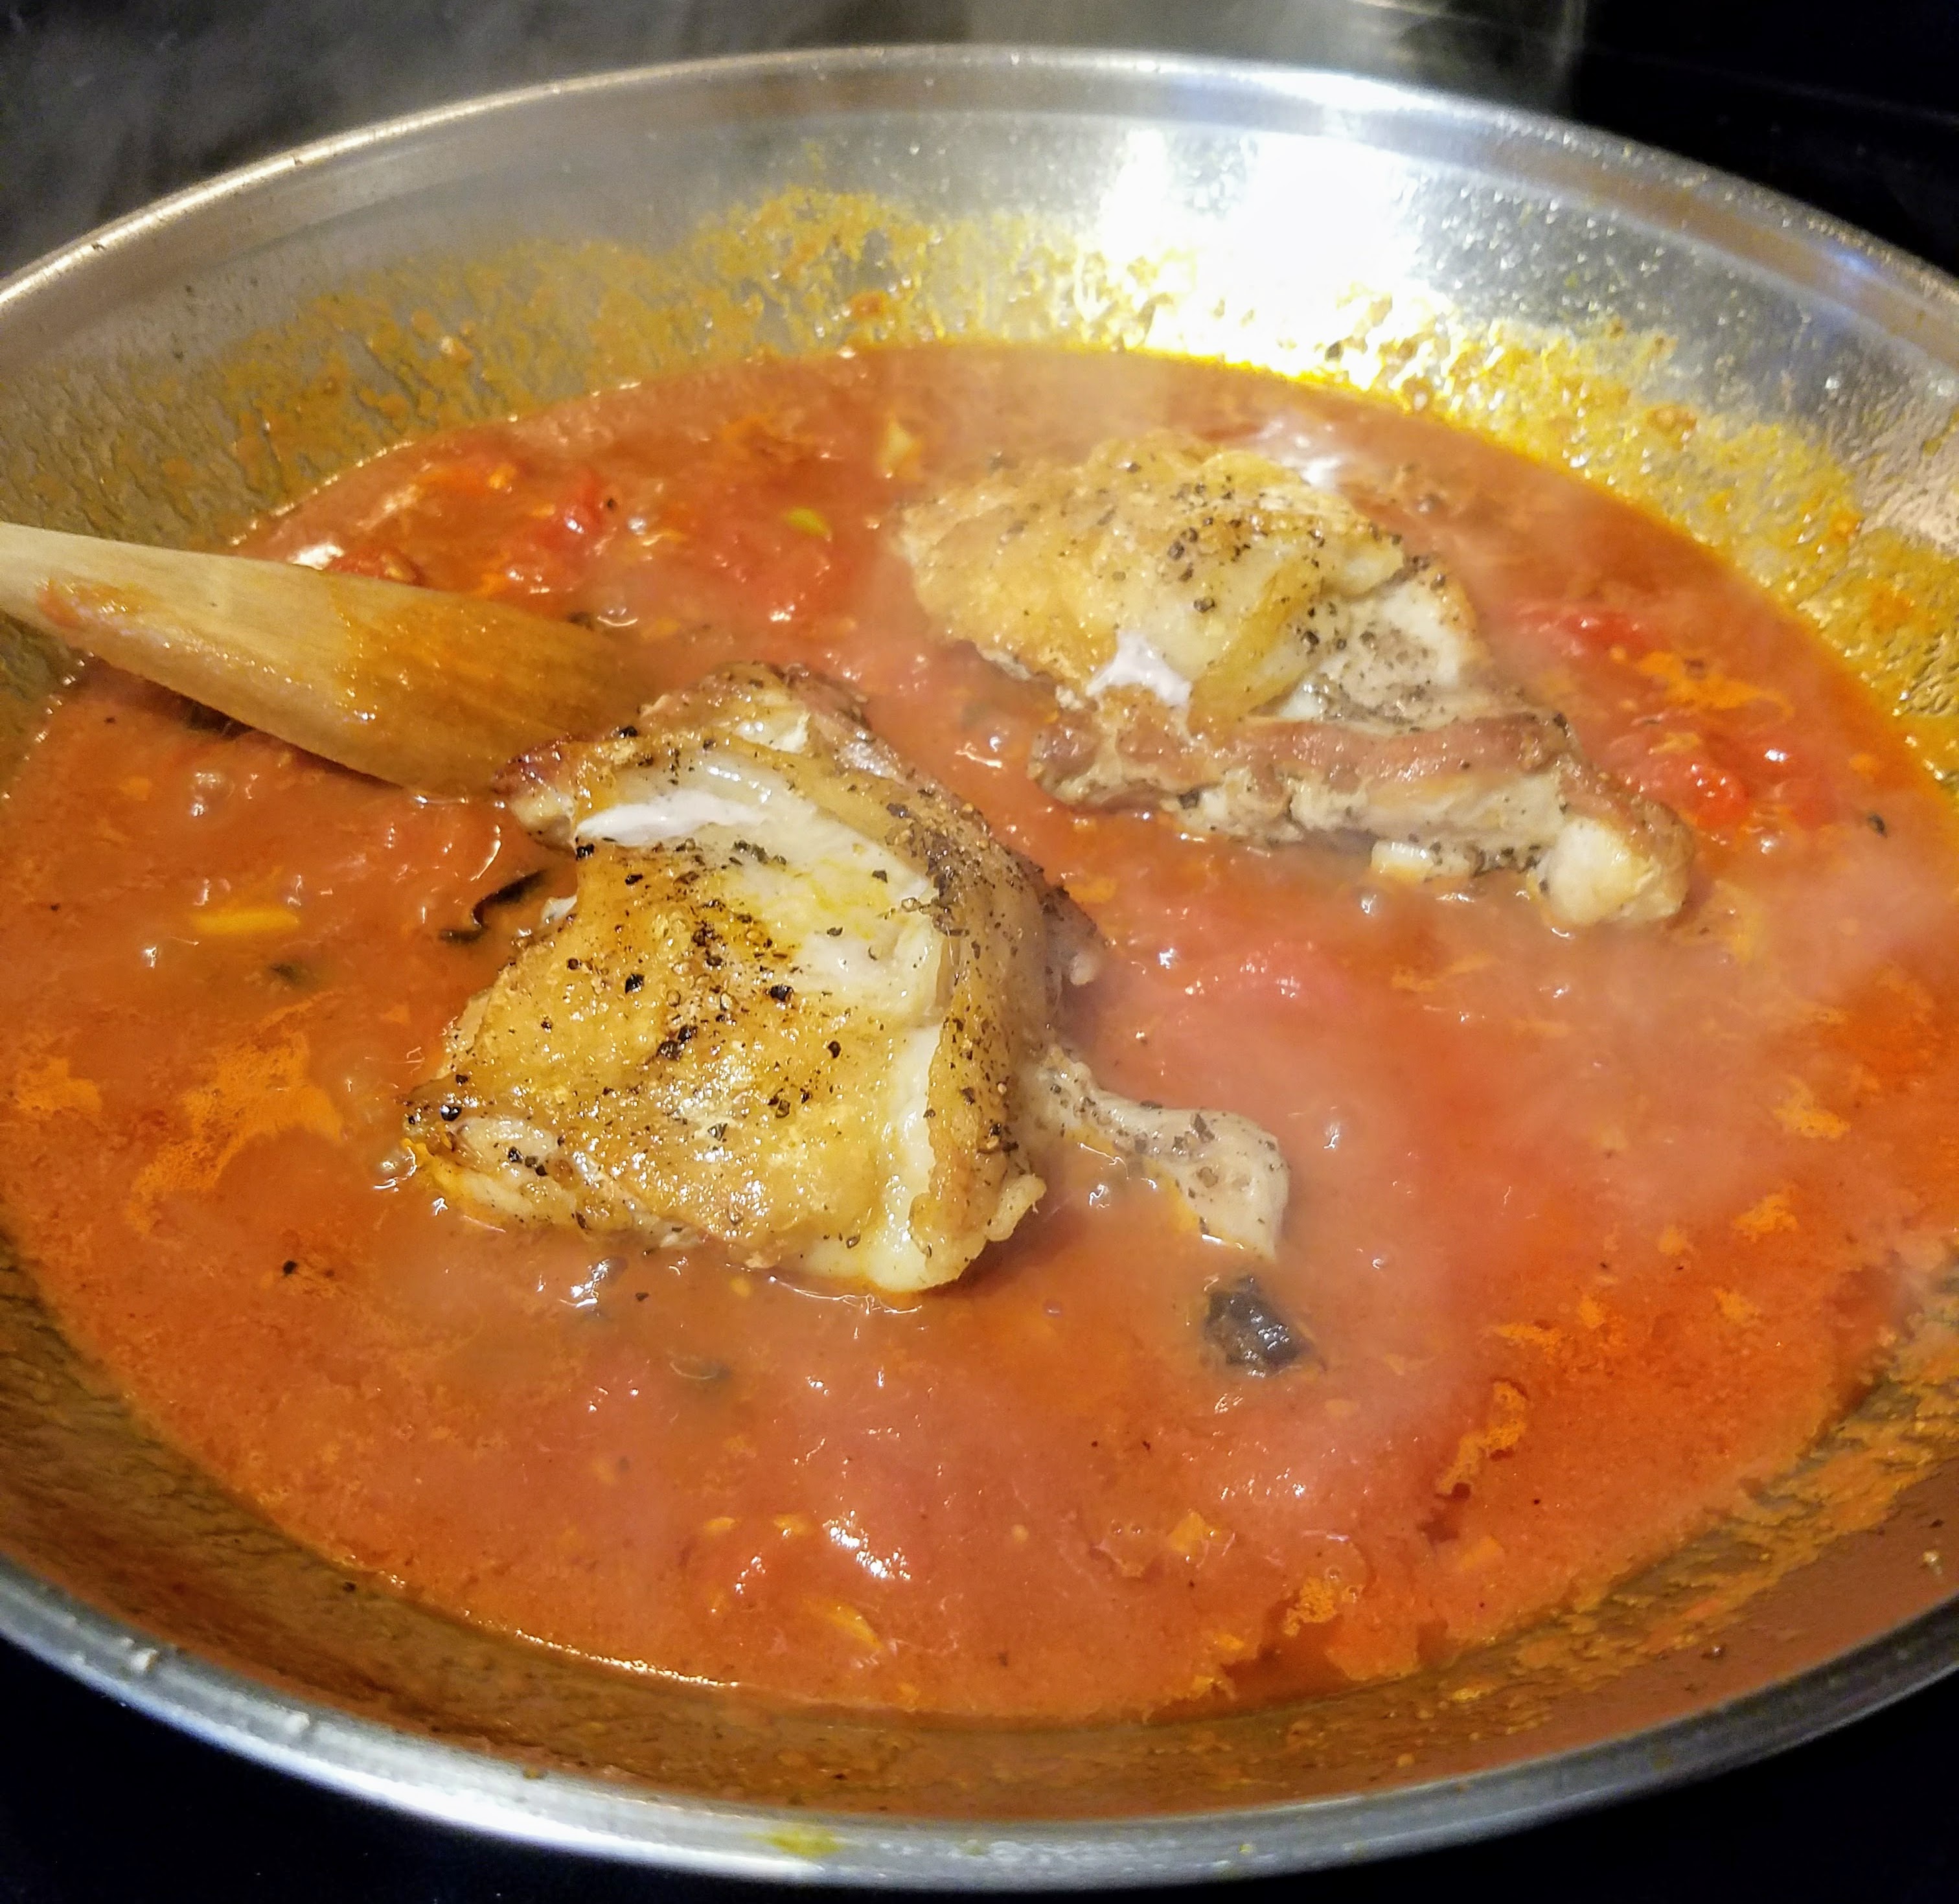

[…] the other day when I was finishing off the first batch of my Icicle Pickles, which I must say are a-freakin’-mazing, I had about a pint of the syrupy pickle juice left […]